©2021 Reporters Post24. All Rights Reserved.
If you’re still using a traditional, spinning hard disk on your PC, you’re missing out. Swapping it out for a solid-state drive (SSD) is one of the best upgrades you can make in terms of speeding up your computer. It’ll boot faster, programs will launch instantly, and games won’t take so long to load anymore.
You could reinstall Windows from scratch, and in some situations, that may be preferable—but with the right tools, you can get up and running much quicker by copying your entire drive over to the new SSD.
What You’ll Need
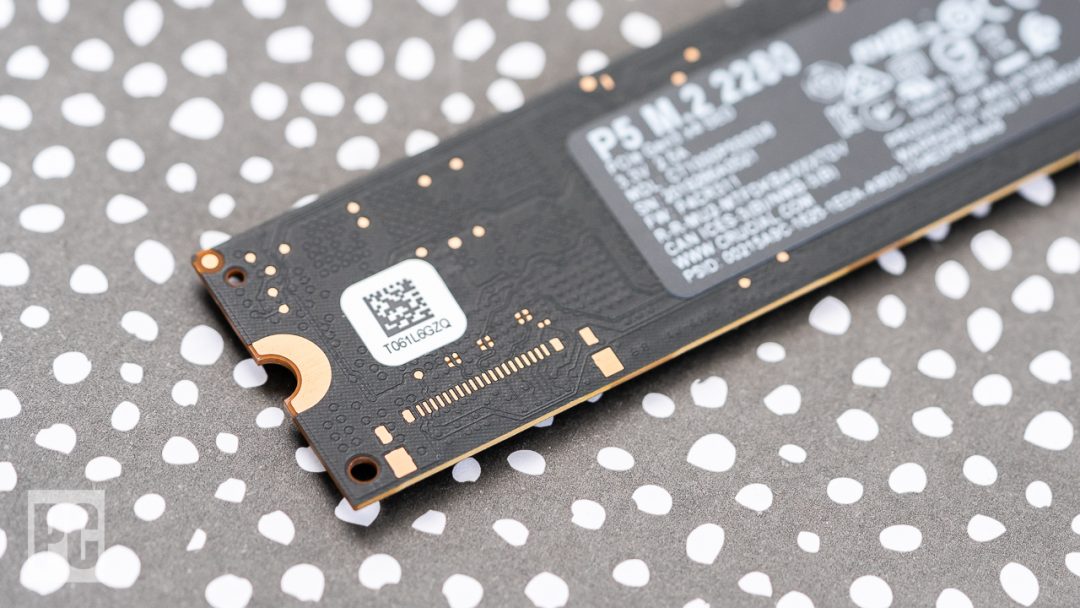
 ADATA XPG Spectrix S40G
Obviously, in order to upgrade to an SSD, you’ll need to, well, buy an SSD. We have some recommendations, but if you’re on a budget, we have a separate list of cheap SSDs as well. Make sure to buy the right form factor for your computer (some laptops will use 2.5-inch drives, while others might use M.2 or mSATA drives), and get one big enough to fit all your data. If you have a 500GB hard drive now, you should probably spring for a similarly sized SSD (or larger, to accommodate future data).
The only exception is if you’re on a desktop computer and have room for multiple hard drives. In that case, you could store Windows and your programs on the SSD while putting your music, movies, and other media on a second, larger hard disk—though this can be a bit more complicated, as we’ll discuss below.
 Orico Hard Drive Docking Station
During this process, you’ll need both your SSD and your old hard drive connected to your computer at the same time. If you’re using a laptop with only one hard drive slot, that means you’ll need an external adapter, dock, or enclosure that can connect your bare SSD to your computer over USB. (Again, desktop users may not need this if they have room for two drives inside their PC—you can just install it internally alongside your old hard drive.)

There are many different drive-cloning tools on the market, and unfortunately there’s no free, one-size-fits-all option. If your drive manufacturer offers a migration program, that might be your best bet. For example, if you bought a Samsung SSD, we recommend downloading Samsung Data Migration and following the instructions in the user guide. Western Digital and SanDisk users can use WD’s version of Acronis True Image to copy their data using these instructions.
For this guide, we’ll be using Macrium Reflect—it’s a free drive-cloning tool that works with any brand of hard drive and SSD. Just download the installer for the free home version and run through the wizard to get it up and running on your PC. It’s available to anyone, no matter what brand drive you have, so if your drive manufacturer doesn’t offer a migration tool, Macrium Reflect is your next best bet.
Once you’ve gathered your necessities, it’s time to get started.
Back Up Your Data (and Free Up Space)

Before you start messing with drives and formatting partitions, it’s absolutely necessary to back up your data first. An accidental click can result in you erasing everything, so do not continue until you’ve backed it all up.
If you don’t have a backup yet, check out our favorite software for the job. Windows also has File History for backing up important documents, and an image file can save your entire system. Copying important data to an external hard drive will also do in a pinch.
If you’re upgrading to an SSD that’s smaller than your current hard drive, you’ll want to take extra care here. This isn’t as common as it once was, thanks to bigger, less expensive SSDs, but if that’s the case for you, you’ll need to delete some files and free up space on your hard drive before cloning it. Otherwise, your data won’t fit on the new drive. Once your data is safe and secure, continue to the next step.
Plug In and Initialize Your SSD

Plug your SSD into the SATA-to-USB adapter, then plug that into your computer. If it’s a brand-new drive, you probably won’t see the drive pop up in File Explorer, but don’t worry; it just needs to be initialized first. Open the Start menu and type “partitions” in the search box. Click the Create and format hard disk partitions option, and Disk Management will open. It will prompt you to initialize the drive using either the GPT or MBR partition table.
I’ll be using GPT for my SSD, since I have a modern PC with a UEFI firmware. If you have an older PC with a traditional BIOS, you may need to use an MBR partition table. If you aren’t sure, look up your specific model of PC or motherboard to see which type of firmware it uses.
If you aren’t prompted to initialize the drive, and don’t see it in Disk Management, double-check that it’s properly connected to your computer, and that the enclosure or dock is powered on (if necessary). See our guide to troubleshooting a hard drive that won’t show up for more.
Once the drive has been initialized, you should see the drive show up in the bottom pane of Disk Management as unallocated space. From there, you should be good to go.
Clone Your Drive

Open Macrium Reflect and you should see a list of drives in the main window. Find your current drive—it’ll list your C: partition with a Windows logo—and select it. Click the Clone This Disk button that appears below that drive to start the cloning wizard.

This will bring up a new window where you will choose your destination drive—in this case, your empty SSD. If your SSD is the same size as your old drive, make sure the box all the way to the left of your source disk is checked, as shown above, then click Select a Disk to Clone. Choose your SSD from the drop-down list, and click Next.

If your SSD is significantly smaller than your old drive, this may require an extra step. Reflect will attempt to automatically shrink partitions with free space to fit it all on the drive, but in my experience, it doesn’t always do this intelligently, and may leave out one of Windows’ recovery partitions. If you experience this problem, you can manually drag each partition down to the SSD, and click Cloned Partition Properties on your main C: drive to resize it manually.
If your SSD is larger than your old drive, it may leave some unused space on the drive—in which case you’ll want to select your main partition, click Cloned Partition Properties, and expand the drive to fill that empty space.

Click Next and you’ll be asked if you want to save this backup schedule. You can uncheck that box and click OK to run the backup now, one time. This can take anywhere from a few minutes to a few hours, depending on how large the disks are, so go watch Netflix and come back later.
When it’s done, you can exit Macrium Reflect. You should see your new SSD in File Explorer, complete with all your data.
Install Your SSD
Next, shut down your computer. It’s time to install that SSD in your machine permanently. If you have a laptop with only one hard drive slot, you’ll need to remove your old hard drive and replace it with your SSD. This is a bit different on every laptop.
If you have a desktop PC with more than one hard drive slot, you can leave your old hard drive in as extra storage, and just install your SSD alongside it.
Reboot From Your New Drive

Once you’re finished installing the SSD, you’ll need to tell your computer to boot from it. (This may not be necessary on laptops with just one drive, but if you experience problems booting, it can help on some PCs.) Turn your computer on and enter its BIOS/UEFI setup—this is a bit different on every PC, but it’ll usually say something like “Press DEL to enter setup” on the boot screen, so you’ll want to press the corresponding key as it starts up.
From there, look for your BIOS’s boot options. These will be in a different spot depending on your computer, but once you find them, select the option to change the boot sequence. Choose your SSD from the list as the first boot drive, then head back to the BIOS’s main menu to exit, saving your settings.
Your computer will reboot, and if all went well, it should plop you back into Windows faster than ever before. Open File Explorer and check to confirm that your SSD is, in fact, the C: drive. If everything looks good, you’re ready to rock.
If your old drive is still installed, you can erase it and use it to store extra files, or you can disconnect it entirely. Best of all, your computer should feel significantly snappier without having to start from scratch.
Source: pcmag.com